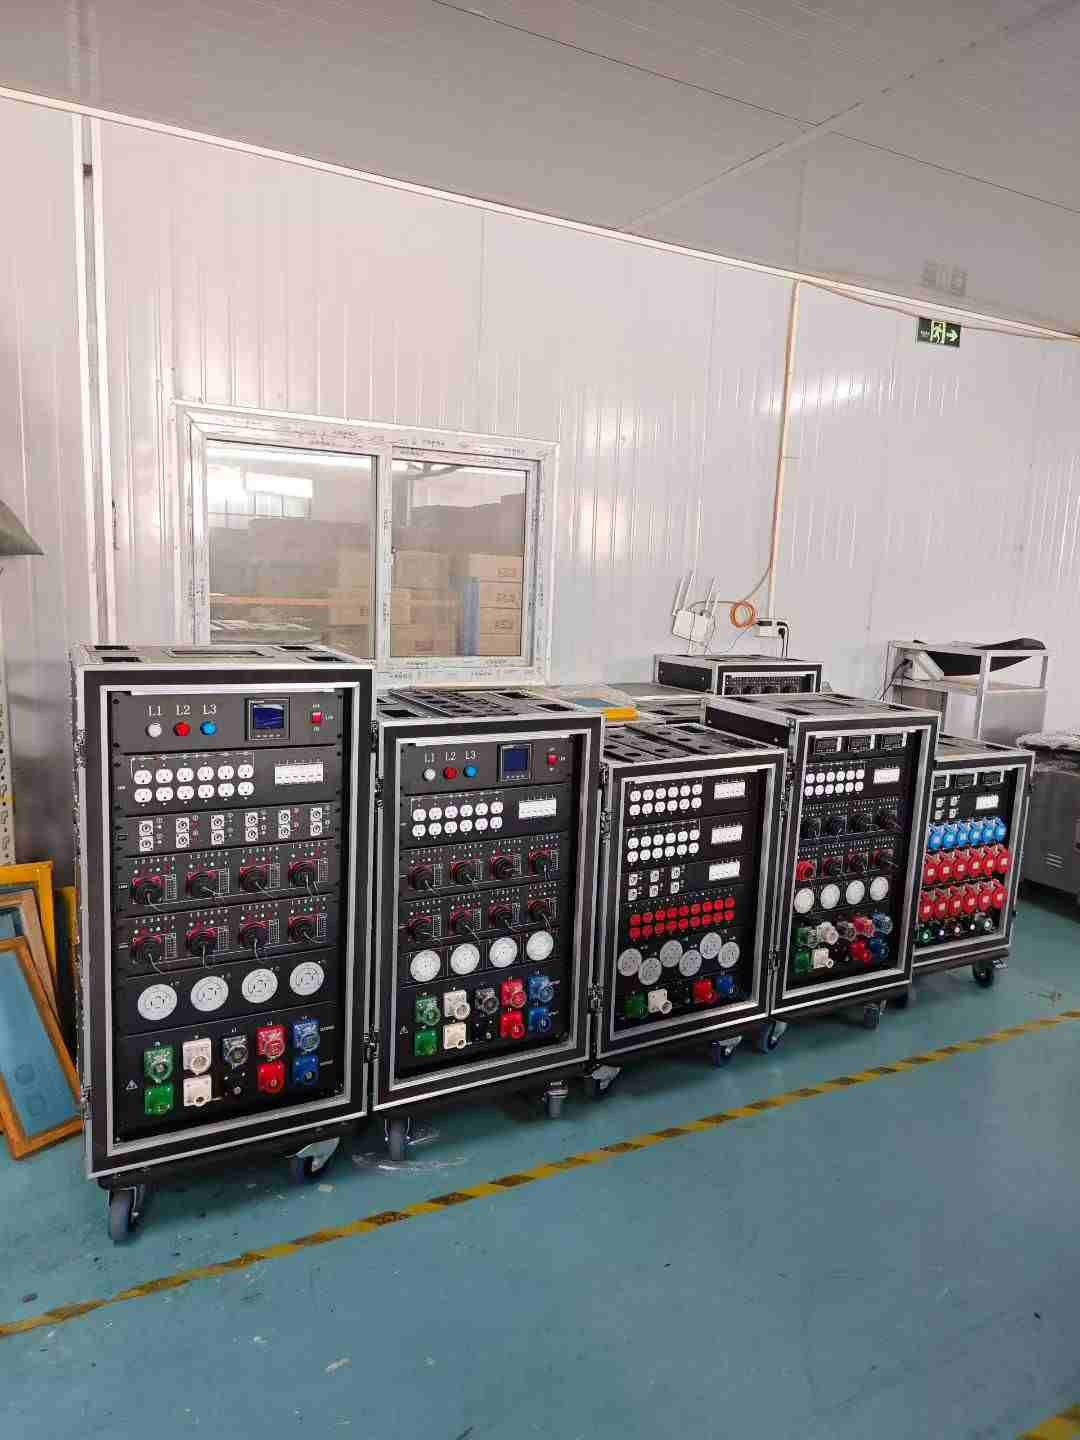
How to Fix 400A and 660A Powerlock Connectors?
Powerlock connectors, commonly used in high-current applications, are essential for reliable and secure connections in electrical systems. However, these connectors may require maintenance or repairs over time. In this blog post, we’ll walk you through the steps to fix 400A and 660A Powerlock connectors, ensuring they remain in optimal working condition.
Tools and Materials Needed
Before you begin, gather the following tools and materials:
- Insulated screwdrivers
- Crimping tool
- Replacement parts (connectors, contacts, seals)
- Multimeter
- Cleaning brush
- Electrical contact cleaner
- Heat shrink tubing
- Protective gloves and eyewear
Step-by-Step Guide
1. Safety First
Ensure that the power supply is completely disconnected before you start working on the connectors. Wear protective gloves and eyewear to prevent injury.
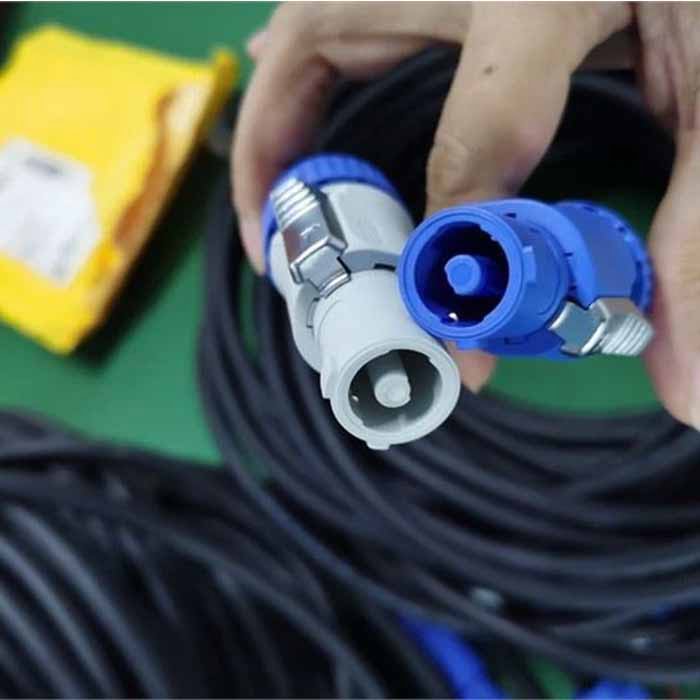
2. Inspect the Powerlock Connector
Carefully inspect the Powerlock connector for any visible signs of damage, such as cracks, corrosion, or burnt contacts. Identify the specific part that needs repair or replacement.
3. Disassemble the Connector
Using the insulated screwdrivers, gently disassemble the connector. Keep track of all the components and their positions to ensure proper reassembly later.
4. Clean the Contacts
Use a cleaning brush and electrical contact cleaner to remove any dirt, dust, or corrosion from the contacts. Ensure the contacts are completely dry before proceeding.
5. Check for Electrical Continuity
Using a multimeter, check the electrical continuity of the contacts. If there is any irregularity, the contact may need to be replaced.
6. Replace Damaged Parts
If you identify any damaged or worn-out parts, replace them with new ones. This includes Powerlock connectors, contacts, and seals. Use a crimping tool to securely attach new contacts.
7. Reassemble the Connector
Carefully reassemble the connector, ensuring all components are in their correct positions. Use heat shrink tubing to insulate and protect the connections.
8. Test the Connector
After reassembly, test the connector to ensure it is working correctly. Use a multimeter to check for proper electrical continuity and ensure there are no short circuits.
9. Reinstall the Connector
Once you are confident that the connector is functioning correctly, reinstall it in its original position. Make sure all connections are secure and tight.
10. Perform a Final Inspection
Perform a final inspection to ensure everything is in order. Check for any loose connections or exposed wires. Once satisfied, reconnect the power supply and test the entire system.
Tips for Maintenance
- Regularly inspect your Powerlock connectors for signs of wear and tear.
- Keep connectors clean and free from debris.
- Store connectors in a dry, cool place to prevent corrosion.
- Use proper tools and techniques to avoid damaging the connectors during repairs.
By following these steps, you can ensure that your 400A and 660A Powerlock connectors remain in excellent condition, providing reliable performance for your electrical systems.
For more tips and guides on maintaining electrical connectors, visit our blog or contact us for professional assistance.
Keep your systems running smoothly with SX, your trusted partner for high-quality cabling solutions.